This tab is used for the connection of third party EFTPOS Integrated to Idealpos.
There are many different EFTPOS Types available and not all are available in all countries and regions.
Please see the relevant EFTPOS guides that relate to the hardware and software that you are connecting.
In Idealpos v9 Build 8 and newer, Idealpos can be setup with a Main EFTPOS Type and Secondary EFTPOS Type.
This functionality has been implemented primarily for sites that have a main Integrated EFTPOS Type that does not support specialised cards (such as WEX Fuel Cards).
These sites can configure a Secondary EFTPOS Type that supports specialised cards, enabling them to run two EFTPOS Integrations simultaneously.
This functionality has been tested with the following EFTPOS Types:
If this functionality is required for any other EFTPOS Types not listed above, we recommend testing the two required EFTPOS Types as Primary and Secondary EFTPOS Types on a test environment to ensure that they work as expected.
Once confirmed, the EFTPOS Types can be configured and installed on a production environment.
Note!
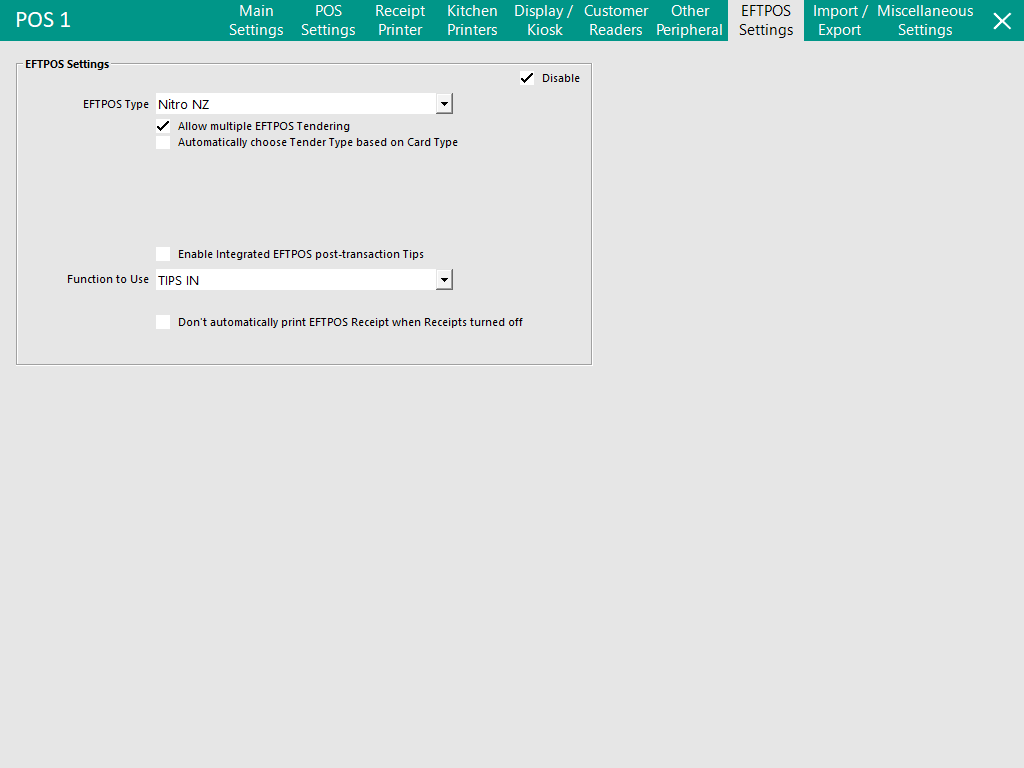
From Idealpos v9 Build 8 and newer, the "Allow multiple EFTPOS Tendering" option is no longer visible.
This option is now hard-coded as enabled.
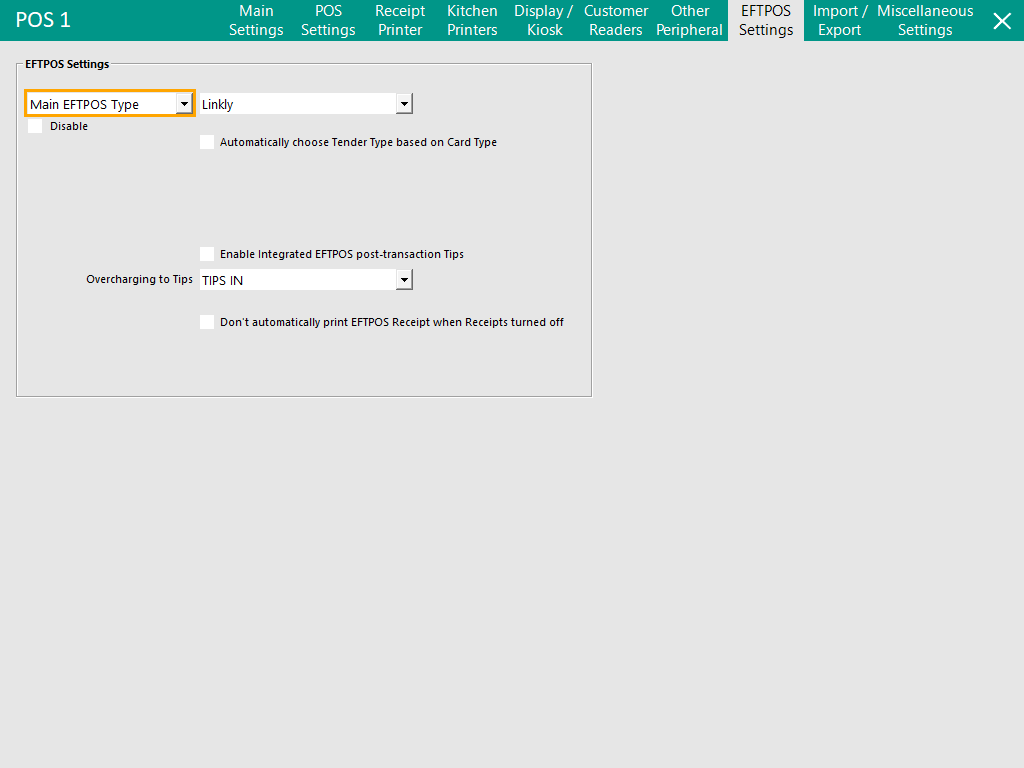
Ensure that the "Disable" checkbox is unchecked (this checkbox enables EFTPOS and is not specific to the Main or Secondary EFTPOS Type).
Select "Main EFTPOS Type" from the first dropdown box.
From the second dropdown box, select the type of EFTPOS that will be used as the Main EFTPOS Type.
Configure the EFTPOS Integration as per the instructions outlined in that EFTPOS Type's respective topic in the User Guide.
The Tender Type that will be used with the Main EFTPOS Type will be the Function Descriptor that has the "EFTPOS" checkbox enabled and is not linked to the Secondary EFTPOS Type/Secondary EFTPOS Tender.
Go to: Back Office > Setup > Function Descriptors > Select the next unused Tender Type > Modify.
Enter a Description for the Tender and ensure that the EFTPOS checkbox is enabled > Save the Function Descriptor/Tender.
Go to: Back Office > Setup > Yes/No Options > Tenders > Untick the checkbox next to "Inhibit [Tender Description]" for the Tender Type.
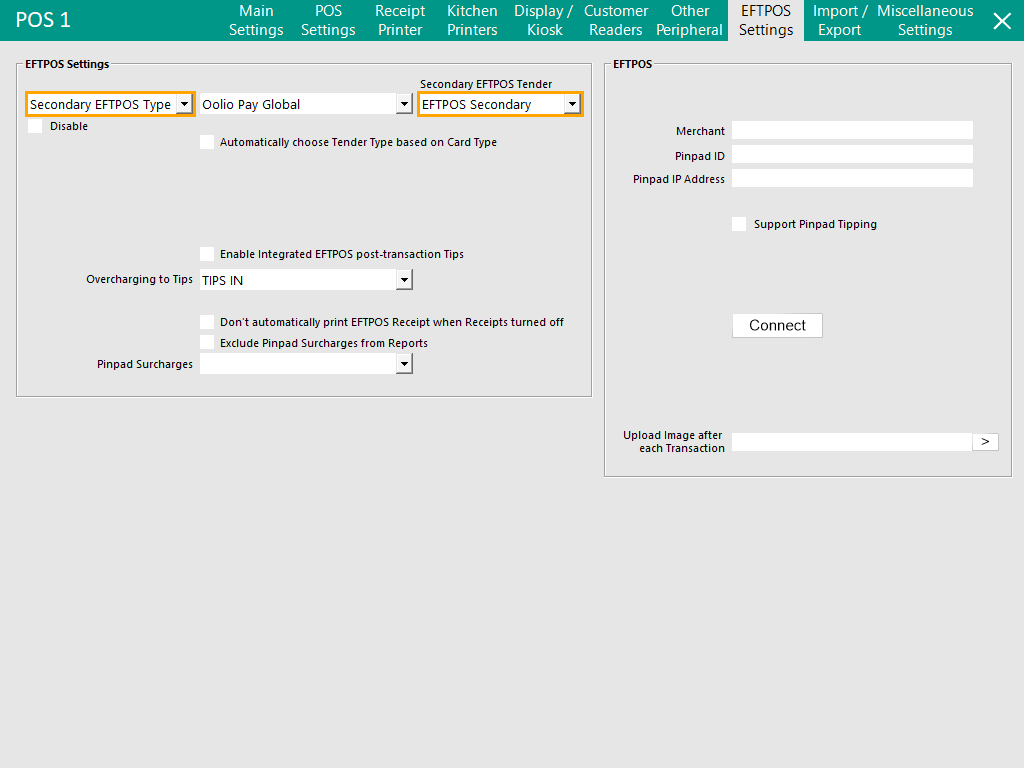
Select "Secondary EFTPOS Type" from the first dropdown box.
From the second dropdown box, select the type of EFTPOS Integration that will be used as the Secondary EFTPOS Type.
From the third dropdown box (Secondary EFTPOS Tender), select the Function Descriptor/Tender Type that will be linked to the Secondary EFTPOS Type.
Note that this Tender Type will also need to have the "EFTPOS" checkbox enabled (go to: Back Office > Setup > Function Descriptors > Modify the Tender used for the Secondary EFTPOS Type > Ensure that the "EFTPOS" checkbox is enabled).
Ensure that the Tender Type used for the Secondary EFTPOS Type is enabled on the POS Screen (Back Office > Setup > Yes/No Options > Tenders > Untick the checkbox next to the "Inhibit [Tender Description]" for the Tender Type).
Configure the Secondary EFTPOS Type as per the instructions outlined in that EFTPOS Type's respective topic in the User Guide.
After configuring the Main and Secondary EFTPOS Types, it is recommended that Idealpos is closed and restarted for the changes to take effect.
Tip!
The Secondary EFTPOS Type is supported for EFTPOS Functions, EFTPOS RePrint and EFTPOS Settlement.
Enable the "Secondary EFTPOS Type" checkbox when configuring these buttons on the POS Screen.
Note that these functions (EFTPOS Functions, EFTPOS RePrint and EFTPOS Settlement) may not be supported by every EFTPOS Integration.
Refer to the EFTPOS page for further information about setting up these buttons.